|
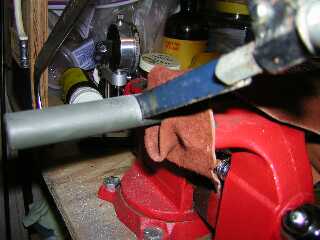
Here's the hacksaw almost through the barrel. Go here for a more detailed look at the process.
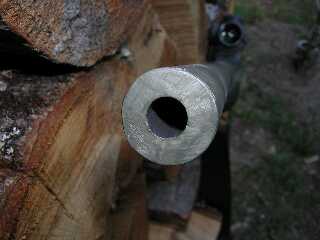
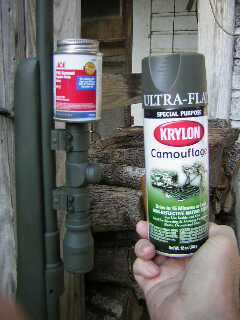
Unlike the old end of the barrel, you can look closely at this new end and actually see rifling. I arbitrarily picked 2 1/2" hoping the cut would eliminate the rusted out section. It did. If it hadn't, I would have whacked off another inch. The barrel is now 19 1/2" long measured via closing the bolt and inserting a rod down the barrel and all the way to the bolt; thus measuring from bolt face to muzzle end. (Thanks to "OD" from the leverguns.com forum for the tip!) This photo shows how I kept from getting spray paint on the scope lenses. I set a small can, a PVC cement can, on the scope front and rear and sprayed to my heart's content.
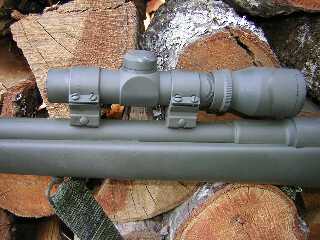
It also shows the paint I used. I walked by a display of camo paint in Wal-Mart
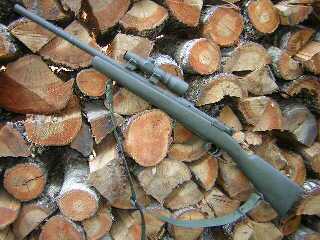
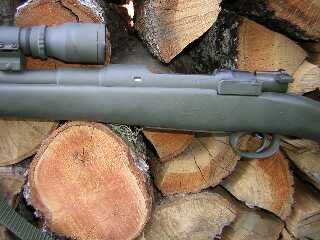
I had previously painted the Boat Rifle's barrel with spray green, but it was too green and too shiny. This stuff is perfect! Best I can remember, it cost $2.94. Here's a close up of the scope. I gave the scope only one light coat of paint so the knobs wouldn't be glued in place. The rifle got two good coats.
I did not de-grease the barrel and action, and I did not rough up the stock.
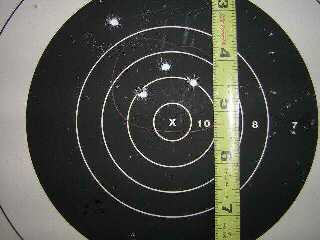
Here we see the target I used while adjusting the 2X scope after the chop job. Range = 75 yards. I shot the shot you see at 11 o'clock in the 7 ring. I adjusted elevation down a little, then adjusted windage right a little, then fired again. It was the center round almost directly above the X. "Hummmm," I said, looking through the spotting scope.
I fired two more quick rounds so I would have a That old relic of the Spanish American War put 3 shots in exactly 1" at 75 yards. And it continues to shoot that well. And it ain't for sale.
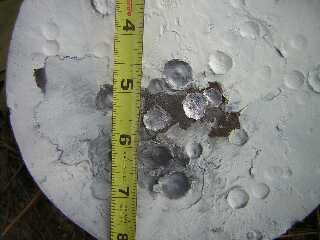
What you see here is three shots in 1 1/8" at 141 yards. From a war surplus rifle. That cost about $75. I'm gonna have to come up with a better name for it than "Boat Rifle." I must close with a repeat of my earlier warning: if you try this and ruin your rifle, it ain't my fault!
|
